
Learn how to make crispy and flavorful fried whiting with easy steps.
Table of Contents
Imagine this: You’re sitting down to a plate of crispy, golden fried whiting, its aroma filling the room and making your mouth water. As you take that first bite, the crispy batter gives way to the tender, flaky fish inside, creating a perfect blend of textures and flavors. Whether you’re preparing a family dinner or impressing guests, fried whiting is the kind of dish that’s sure to satisfy.
In this guide, I’ll walk you through each step to achieve perfectly fried whiting—crispy, flavorful, and oh-so-delicious. Don’t worry, these steps are easy to follow, and with the right techniques, you’ll be able to replicate this favorite seafood dish in no time. Let’s dive into the simple steps that will elevate your cooking game!
Why Fried Whiting Is the Perfect Choice for a Crispy Seafood Meal
Whiting Fish: A Perfect Canvas for Frying
Whiting is a mild, tender white fish that is often overlooked but deserves your attention. Its soft texture and light, delicate flavor make it the ideal choice for frying, as it holds up well to the heat without falling apart. When fried, whiting achieves the perfect balance of crispiness on the outside and flakiness on the inside, making it an excellent alternative to other, heavier fish like cod or haddock.
This fish is not only a treat for your tastebuds but also a budget-friendly choice for seafood lovers. Whether you’re on a budget or just craving some delicious fish, whiting is an affordable and accessible option that will never compromise on flavor.
The Benefits of Choosing Whiting for Frying
- Mild Flavor: Whiting’s subtle taste pairs well with a variety of seasonings, so you can customize it to your liking.
- Perfect Texture: Its flaky, tender meat makes it easy to fry without it disintegrating or losing its shape.
- Affordable: Compared to other popular fried fish, whiting is usually more affordable, which is perfect if you’re feeding a crowd.
Fried whiting is a versatile dish, whether you’re serving it alongside your favorite sides for a casual dinner or preparing it as the star of a special gathering.
Key Ingredients for Perfect Fried Whiting
Now that you understand why whiting is such a great choice, let’s talk about the key ingredients you’ll need to create that crispy, flavorful fried fish everyone loves.
Table: Fried Whiting Ingredients
| Ingredient | Quantity | Notes |
| Whiting Fillets | 4-6 fillets | Fresh or frozen, thawed |
| All-Purpose Flour | 1 cup | For dredging and batter |
| Cornstarch | 2 tablespoons | For extra crispiness |
| Baking Powder | 1 teaspoon | Helps with puffiness |
| Salt & Pepper | To taste | Essential for seasoning |
| Garlic Powder | ½ teaspoon | Optional, for added flavor |
| Onion Powder | ½ teaspoon | Optional, for added flavor |
| Vegetable Oil (for frying) | 2 cups | Neutral oil, like vegetable or canola |
| Lemon (optional) | 1, sliced | For garnish and extra flavor |
| Hot Sauce (optional) | To taste | For those who enjoy a little heat |
Having the right ingredients is crucial for making crispy and flavorful fried whiting. The combination of flour, cornstarch, and baking powder is what creates the irresistible crispy coating that will have everyone coming back for more.
Preparing Whiting for Frying: Cleaning and Seasoning
Before you start cooking, it’s important to prepare the whiting fillets properly. By cleaning and seasoning the fish, you’ll ensure that it’s packed with flavor and ready for frying.
Step 1: Clean the Fish Fillets
- If you’re using fresh whiting, make sure to remove any scales and bones.
- Rinse the fillets gently under cold water and pat them dry with paper towels.
- If using frozen whiting, make sure the fish is fully thawed before cleaning and drying it. Overabundance dampness can make the player soggy.
Step 2: Season the Fish
To infuse the fillets with flavor, season the fish generously. Here’s how:
- Sprinkle salt, pepper, garlic powder, and onion powder over both sides of the fillets.
- For added flavor, you can marinate the fillets for 10-15 minutes before battering them. This allows the seasoning to penetrate the fish, giving it an extra layer of flavor.
Pro Tip: Make sure your fillets are dry before seasoning. If there’s too much moisture on the surface of the fish, the batter won’t stick as well.
The Perfect Battering Process for Crispy Fried Whiting
Now, let’s talk about the secret to that crispy, golden crust. The right batter will make all the difference when frying whiting.
Step 1: Make the Batter
- In a shallow bowl, combine 1 cup of all-purpose flour, 2 tablespoons of cornstarch, 1 teaspoon of baking powder, salt, and pepper.
- Gradually add water to the mixture until you achieve a smooth batter with a slightly thick consistency. The hitter ought to be thick sufficient to coat the angle but not so thick that it trickles off.
Pro Tip: To make the batter extra light and crispy, consider adding a splash of cold sparkling water instead of regular water. This will create a light, airy texture that’s perfect for frying.
Step 2: Dip the Fish in the Batter
- Take your seasoned whiting fillets and dip them into the batter, ensuring they are fully coated on both sides.
- Let the overabundance player trickle off some time recently frying.
Pro Tip: If you want an even thicker coating, you can dredge the battered fish in additional flour before frying. This extra layer will give you a super crispy texture.
The Ideal Frying Technique for Crispy Whiting
Frying the fish at the right temperature and for the correct amount of time is essential to getting that perfect golden brown crust.

Step 1: Heat the Oil
Heat vegetable oil in a huge singing container or profound fryer over medium-high heat. You’ll need enough oil to fully submerge the fillets. To check the temperature of the oil, drop a small amount of batter into the oil—if it bubbles up and rises to the surface, the oil is hot and ready.
Step 2: Fry the Fish
- Carefully place the battered fillets into the hot oil, making sure not to overcrowd the pan. Overcrowding will reduce the oil temperature, causing the fish to cook unevenly and making it less crispy.
- Fry the fillets for about 3-4 minutes on each side or until the coating is golden brown and crispy.
Step 3: Drain Excess Oil
Once the fillets are cooked, carefully remove them from the oil and place them on a paper towel-lined plate to drain any excess oil.
Pro Tip: If you’re cooking multiple batches, allow the oil to return to the correct temperature before frying each new batch. This ensures the fish stays crispy.
Serving Suggestions for Your Fried Whiting
Now that you’ve cooked your fried whiting to perfection, let’s talk about how to serve it. Fried whiting pairs wonderfully with a variety of sides and sauces, allowing you to customize your meal to suit your preferences.
Ideal Side Dishes
- Coleslaw: The cool, tangy crunch of coleslaw complements the crispy fish beautifully.
- French Fries: A classic side that’s always a crowd-pleaser.
- Cornbread: Serve with a slice of moist cornbread for a Southern-inspired meal.
- Sauteed Vegetables: Lightly seasoned sautéed vegetables, such as green beans or spinach, balance out the richness of the fried fish.
Sauces to Serve With Fried Whiting
- Tartar Sauce: A classic and creamy sauce that perfectly complements the fried fish.
- Cocktail Sauce: For a zesty, tangy kick.
- Hot Sauce: If you like a little spice, hot sauce is a great addition to your fried whiting.
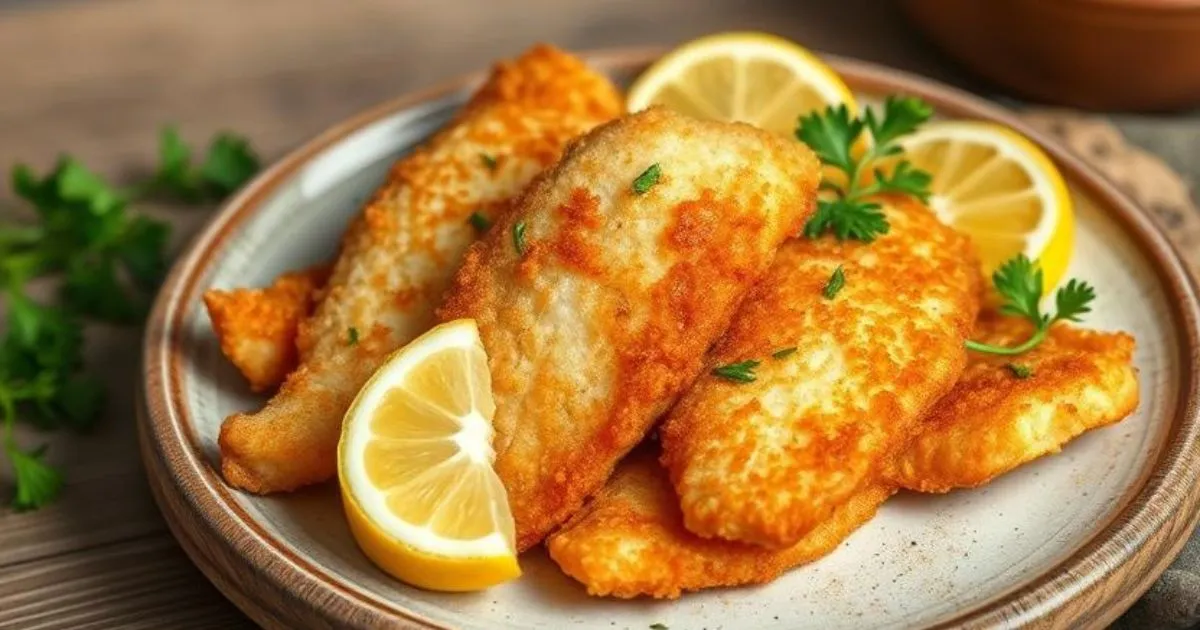
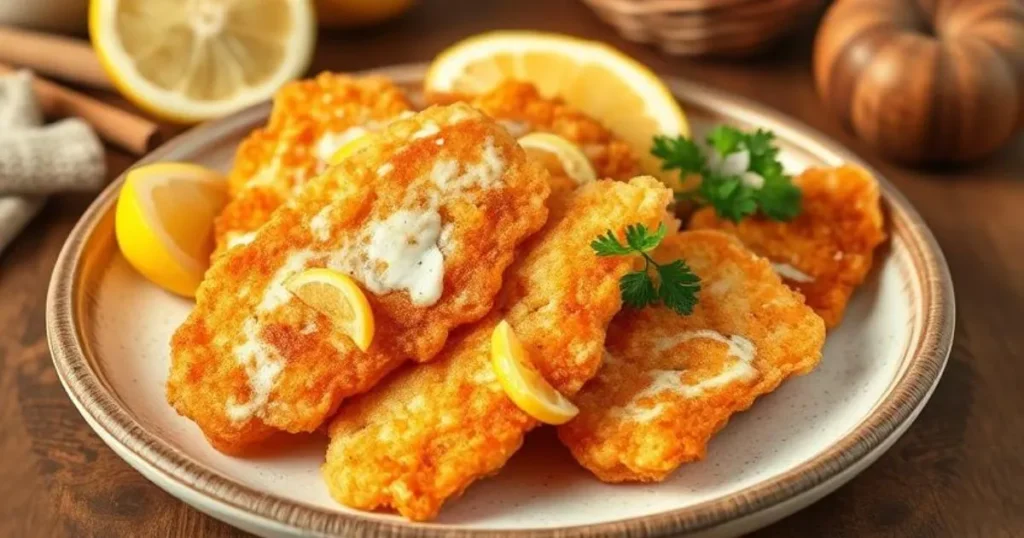
Pro Tip: Garnish your fried whiting with lemon wedges and fresh parsley for an extra burst of flavor and a pop of color.
Common Mistakes to Avoid When Making Fried Whiting
Even experienced cooks can make mistakes when frying fish. Let’s look at a few common pitfalls and how to avoid them.
Mistake 1: Overcrowding the Pan
When frying, always leave enough space between the fillets. Overcrowding the pan causes the temperature of the oil to drop, resulting in soggy fish instead of crispy fish.
Mistake 2: Not Using the Right Amount of Oil
Make sure the oil is deep enough to submerge the fish completely. Shallow frying won’t give you that crispy, golden exterior, and the fish may end up greasy.
Mistake 3: Not Draining Properly
After frying, always drain the fish on a paper towel-lined plate to remove excess oil. This will offer assistance keep up the crispiness of the player.
FAQ – Everything You Need to Know About Fried Whiting
1. What type of oil is best for frying whiting?
Vegetable oil, canola oil, or peanut oil are all great choices because they have high smoke points and neutral flavors that won’t overpower the taste of the fish.
2. Can I use frozen whiting for frying?
Yes! Just make sure to fully thaw the fish and pat it dry before seasoning and battering it. This ensures the batter sticks properly and cooks evenly.
3. How can I make my fried whiting extra crispy?
The key to extra crispy fried whiting is a combination of cornstarch and baking powder in the batter. You can also use cold sparkling water for an airy texture.
4. How do I know when my fried whiting is cooked?
Your fried whiting should be golden brown and crispy on the outside. To test, gently flake the fish with a fork—it should flake easily and be opaque inside.
5. How should I store leftover fried whiting?
Store any leftover fried whiting in an airtight container in the fridge for up to two days. To reheat, place it in the oven or air fryer to restore the crispiness.
Conclusion: Enjoy Your Crispy and Flavorful Fried Whiting
Congratulations! You now know exactly how to make crispy, flavorful fried whiting with simple, easy-to-follow steps. This delicious dish is perfect for any occasion and will surely become a favorite in your home. Whether you’re making it for a family dinner, a special occasion, or just craving some comfort food, fried whiting is always a hit.
So, what are you waiting for? Gather your ingredients, follow the steps, and enjoy a plate of crispy, golden fried whiting tonight. Don’t forget to experiment with your favorite sides and sauces to make the meal truly your own!